


Persona 5 The Phantom X‘s first event is a crossover, where the Phantom Thieves of the original Persona 5 join the cast of The Phantom X to explore a recreation of Kamoshida’s Castle. Split over 14 missions, this exploration is filled with optional objectives and additional collectibles to find.

This guide will explain how to 100% clear every mission in the Castle Arc of Persona 5 The Phantom X, offering detailed info on where each collectible can be found and offering advice on the weaknesses of the stronger enemies.

Related
How to Fast Travel in Persona 5 Phantom X
Want to know how to Fast Travel in Persona 5 The Phantom X? Here’s every method to move fast in the game.
Crossroads of Fate: Castle Arc, Explained

The Crossroads of Fate: Castle Arc is the main focus of the Take Your Heart Event, and features the Phantom Thieves of Persona 5 and Persona 5: The Phantom X crossing paths in a strange recreation of Kamoshida’s Palace. The exploration of the Palace is broken down into 14 Missions, which will be released in segments throughout the event duration, likely culminating in a boss fight against Shadow Kamoshida (if the Icon for Mission 14 is anything to go by).
This guide will explain how to 100% clear each of the 14 missions, updating periodically to include information on the missions as they become available in game, including the locations of optional bosses, treasure chests, and the Orbs of Greed/Golden Volleyballs scattered throughout the Castle.
Crossroads of Fate: Castle Arc – 1-1 Walkthrough

This first mission is mostly story-driven and acts as an introduction to the event and its structure. It shows how the Phantom Thieves end up at Kamoshida’s Palace, introduces them to Mona and Skull, and features a short battle alongside them against some Shadows. There are no collectibles to find in this first section, and the enemies you’ll be fighting are easily handled as long as you have a source of lightning damage, which Ryuji is more than happy to provide.
Crossroads of Fate: Castle Arc – 1-2 Walkthrough

As the first mission where you’ll actually get to explore, there are quite a few items to find scattered around the castle. Start by heading to the right, where there’s a door that would lead down to the dungeons. There’s a Golden Volleyball here to collect. Once you’ve got that, head up the main staircase and turn to the right to find a treasure chest. With both collectibles in this area handled, investigate the painting at the top of the staircase to open a path further into the castle.
Look left after reaching the stairs to find a Golden Volleyball, then head down the left set of stairs to find another treasure chest. Once you’ve got both of those, head up the stairs on the right and use the elevator to get into the tower. Take a left turn in the tower to find a boss enemy guarding a chest. This boss is vulnerable to Ice damage and shouldn’t pose much of a threat. Take them out, open the chest, and head back to take the path to the right of where you came in.
After a cutscene plays, part of the floor will rise, creating a path for you to reach a chain higher up. Before you head over there, you should head around to the right and take out a Shadow to reach another treasure chest. Head back and climb up to the chain to pull it and open the gate. Once you head through the gate, a fight will start against Eligor, who is weak to Lightning and easy pickings for Ryuji. Take them out to finish the mission.
Crossroads of Fate: Castle Arc – 1-3 Walkthrough
This mission begins with the group heading outside the castle to find an alternate path into the west wing. After you get outside the castle, face the castle and look left to find the first Golden Volleyball and the first treasure chest of this mission. After entering the castle, climbing across some chandeliers, and ambushing some enemies that are very weak to Wind damage (Morgana really shines here), you can look to your right to find another treasure chest.
Head through the door the Shadows were guarding and, after turning a corner, you can find the second volleyball on a bookshelf to your left. Head through to the next room and use Wonder’s Third Eye to follow the glowing footprints and pull the chains in order. Opening the chest in the center will start a fight against two Incubi, who are weak to both Bless and Gun attacks. This makes them easy pickings for Wonder and Janosik.
After taking out the enemy, head into the next hall and take out the enemies. The way forward is blocked by another chain puzzle you can solve using Third Eye, and there’s a door to the right that requires a key to open. After solving the chain puzzle and seeing the cutscene explaining the locked door, head back the way you came to find the key on a bookshelf. Use it to crack open the door and find a treasure room guarded by some Shadows. They’re weak to Ice and Lightning, and once you take them out, you’ll have access to the three treasure chests they were guarding.
Once you’ve looted all the treasure, head back and go through the door opened by the chain puzzle to reach a staircase. Look to your right to get the final Volleyball, then head downstairs to finish the mission.
Crossroads of Fate: Castle Arc – 1-4 Walkthrough
Continuing the infiltration, you should head through the door right next to where you start this mission. This will take you to the bottom of the staircase from the last mission, which has now collapsed, and you can find a treasure chest and a Golden Volleyball here. With that taken care of, head back and follow the mission marker to reach the castle kitchens. Climbing up onto shelves and navigating past obstructions, you’ll find a powerful enemy patrolling near a chain. Take them out and then pull the chain to extinguish the fireplace and lower the bars blocking the door. Grab the Orb of Greed/Golden Volleyball on the table near the chain, and make sure to open the treasure chest in the fireplace before you leave.
After heading around the corner in a small hallway, you’ll enter a room where some Shadows are talking. After they split up and you regain control, take out the enemy in this room to snag a key. You’ll need this to activate a chain in the room and open the path forward. Before you leave the room, however, you should also pick up the Golden Volleyball near where the Shadow was patrolling (on a shelf) and grab the nearby chest key so you can crack open the chest in this room.
Entering the next hallway, grab the chest at the end of the hall and then head through the door on your left. Exit this room into another hallway, grab the chest in that hallway, and then follow the mission marker to find the final battle of this mission. These enemies are weak to Ice damage. The Shadows mentioned that a female was captured and put in the underground prison, so we now know where Panther is.
Crossroads of Fate: Castle Arc – 1-5 Walkthrough
Our next objective is rescuing Panther in the underground prison. Starting out, follow the path and keep an eye out on your right, to spot the first Golden Volleyball inside a cell. After grabbing it, cross over the water to trigger a short cutscene. After the scene plays, head to the left to find a boss enemy guarding a chest. This turns out to be four Agathion, who are weak to Wind. Since Morgana can’t hit multiple targets with his Wind attack, you’ll need to take out two of them before you can start utilizing All-Out Attacks, unless you get lucky with Physical critical hits or bring along another party member with Wind skills.
Once they’re down, open the chest and head back the way you came, stopping to open each cell you can on your left, taking out a Shadow in one and looting a treasure chest in another. Trigger the dialog about a locked door by heading over to the mission marker, then open the nearby cell and break some barrels to reveal a path forward. Investigate the clue Panther left behind in this room, then head out of the cell and turn right to find a treasure chest, and left to find another Orb of Greed.
After a fight with some enemies that are weak to Lightning, you can crack open the cell nearby for a second clue. Then, continue forward to find a chest, and hop across the water using the conveniently placed cages. Collect the last clue on the far side of the water, then head down the ramp and through the door, making sure to snag the Golden Volleyball on the left as you do. Find Panther in her cell just past this point to trigger a boss and finish up the mission. The boss is vulnerable to Fire.
Crossroads of Fate: Castle Arc – 1-6 Walkthrough
With Panther rescued, now we just need to find Joker. As we make our way through more of the underground prison, we’ll encounter another strong enemy in our path. Luckily, with some Gunfire, and a Fire attack from Panther, they’ll go down in no time at all. With them out of the way, we can check the cells on the left to find a strong enemy guarding a chest (who is weak to Ice), and pull a nearby chain to lower a bridge.
After crossing the Bridge, check the cells on your left to find a treasure chest in one, and a Golden Volleyball in another. Head up the stairs and look to your right to find the key for the Cell on your left. Take out the enemy inside and open the chest (the enemy in question is weak to lightning), then inspect the raised drawbridge up ahead. Once you’ve done that, you’ll be able to open the cell next to the previous one, which contains an enemy holding the key for the pull chain.

Cross the Drawbridge and open all the cells on the other side, fighting some enemies and finding a treasure chest in the process. Then, head over toward the door leading to the final encounter of this area (Lufel will warn you to make sure you’re prepared when you interact with it, so back out) and turn right to jump across some cages and reach the other side of the water. There’s a Golden Volleyball here, along with the Hidden Room Key.
With the Hidden Room Key in hand, backtrack to just after the first drawbridge to find the locked room that it opens. Here, you’ll find the last Golden Volleyball and a strong enemy guarding the last Treasure Chest. This enemy group is weak to lightning and fire, making them easy pickings for Panther and Skull. Once they’re beaten, head back to the door leading to the final encounter and face off with the final enemy of this mission, which is weak to lightning.
Crossroads of Fate: Castle Arc – 1-7 Walkthrough
In this mission, we’ll be returning to the west wing of the castle, visiting a location that is far too familiar to Panther. To get into the locked room, you’ll need to acquire weapons and shields for the four knights who lack them. As you head out of the hall filled with suits of armor, look to your right to find a Golden Volleyball on a chair near a patrolling shadow. Once you’ve grabbed it, you can head down the hall toward the armory.
In the armory, you can immediately grab a spear from the wall on your right, and then wrap around to take out the patrolling shadow and open the nearby chest. Continue past the chest to find a second Golden Volleyball on a shelf on the far wall. Take out the other patrolling shadow and grab a second spear from the wall opposite where you found the first spear, and then head through the nearby door to continue.

In this hallway you’ll find a Safe Room, which can be used to heal but won’t allow you to change party members, and the first of the two shields you need. Through the door past the shield you’ll find the kitchen. There’s a patrolling shadow here, and after taking it out you can grab a Golden Volleyball from one of the tables and open a treasure chest inside the raised fireplace. When you interact with the statue holding the second shield, it will reveal itself to be a shadow and attack. Gun and Fire damage is the secret to success here, something you’ll have in abundance now that Panther is here.
Once you’ve taken it out, use the shelves around the room to climb and reach the blocked-off section of the room, where another Golden Volleyball can be found on a shelf near a treasure chest and a door that cannot be opened. Now that you’ve got everything you need, head back to the door in the room with the statues, give the statues the weapons and shields, and then head into the final room of this mission. After a cutscene, you can open the chest in this room to get the Training Hall Key and trigger a boss fight. You’ll be fighting two Berith and two Succubi, which are weak to Ice and Bless damage, respectively. This means it’s time for Wonder to shine, and Morgana’s Gentle Fist criticals can also be very effective here.
Crossroads of Fate: Castle Arc – 1-8 Walkthrough
Returning to the dungeons below the castle, the Phantom Thieves use the key from the previous mission to access Kamoshida’s Training Hall of Love. After you gain control, you’ll see a path leading straight ahead and a staircase leading downward. Taking the path straight ahead leads to a locked door, so we’ll have to leave it for later. Instead, look to your right at the top of the stairs to find the first Golden Volleyball of this area, then head down and take out the patrolling shadow.
After you’ve dealt with the patrolling shadow, continue moving along the path and taking out enemies until you reach a door blocked by a shadow. Take it out, then check the side path to the right before you actually go through the door, since there’s a treasure chest to grab.
Heading through the door, you’ll reach a room with a chest in one corner, and the Hidden Room Key in the opposite corner. Open the chest, grab the key, and it’s time to backtrack to the locked door we mentioned earlier. This hidden room contains a powerful shadow, a Golden Volleyball, and three treasure chests, making it well worth the trip. The enemy here is Eligor, who is weak to lightning and therefore a perfect target for Ryuji.
Once you’ve taken the enemy out and looted the room, head back to the room where you got the key and continue further into the Training Hall. After hearing a cry for help, you’ll reach an area where a locked gate blocks the path forward. Look behind you after finding the locked gate to spot a Golden Volleyball, and then head through the gate on the opposite side of the water from the locked one to continue. Climb the boxes at the end of this path to get into a new section of the dungeon.
After you cross the rafters and get into a new set of hallways, turn around and take the path to your left to find another treasure chest. Heading back the way you came, you’ll trigger a cutscene where Morgana points out a suspicious shadow. Take it out to grab the key, then head straight ahead down the path and look to your right at the end to find another chest, guarded by a powerful shadow. Most of the enemies in this fight are weak to guns, so it won’t be too tough.
Once you’ve taken out the powerful shadow and opened the chest, look behind you to find another Golden Volleyball. You can then head back to where the shadow with the key was patrolling to open a gate leading back toward the locked gate from earlier. Open the locked gate to progress further and head to the end of this path to grab the final chest for this mission. With that, you can head back and investigate the noise to trigger the final fight of this mission.
The boss is an Archangel, meaning it’s weak to lightning and curse, but you’ll only need to drop its health to half to finish the mission and trigger the final cutscene. It seems we’re in dire straits, but there’s still an ace up our sleeve. Well, more of a Joker, really.
Crossroads of Fate: Castle Arc – 1-9 Walkthrough

This mission continues right where the last one left off, with the Phantom Thieves facing off against powerful foes and greatly outnumbered. Luckily, Joker arrives right on time to turn the tide. This is a fixed-party fight with Wonder and Joker versus Archangel, who begins the fight at half health and fights identically to last time. Joker can easily hit its weakness, as can Wonder if you brought any kind of lightning damage to the fight. Overall, Archangel should be no threat to Joker and Wonder fighting together.
Crossroads of Fate: Castle Arc – 1-10 Walkthrough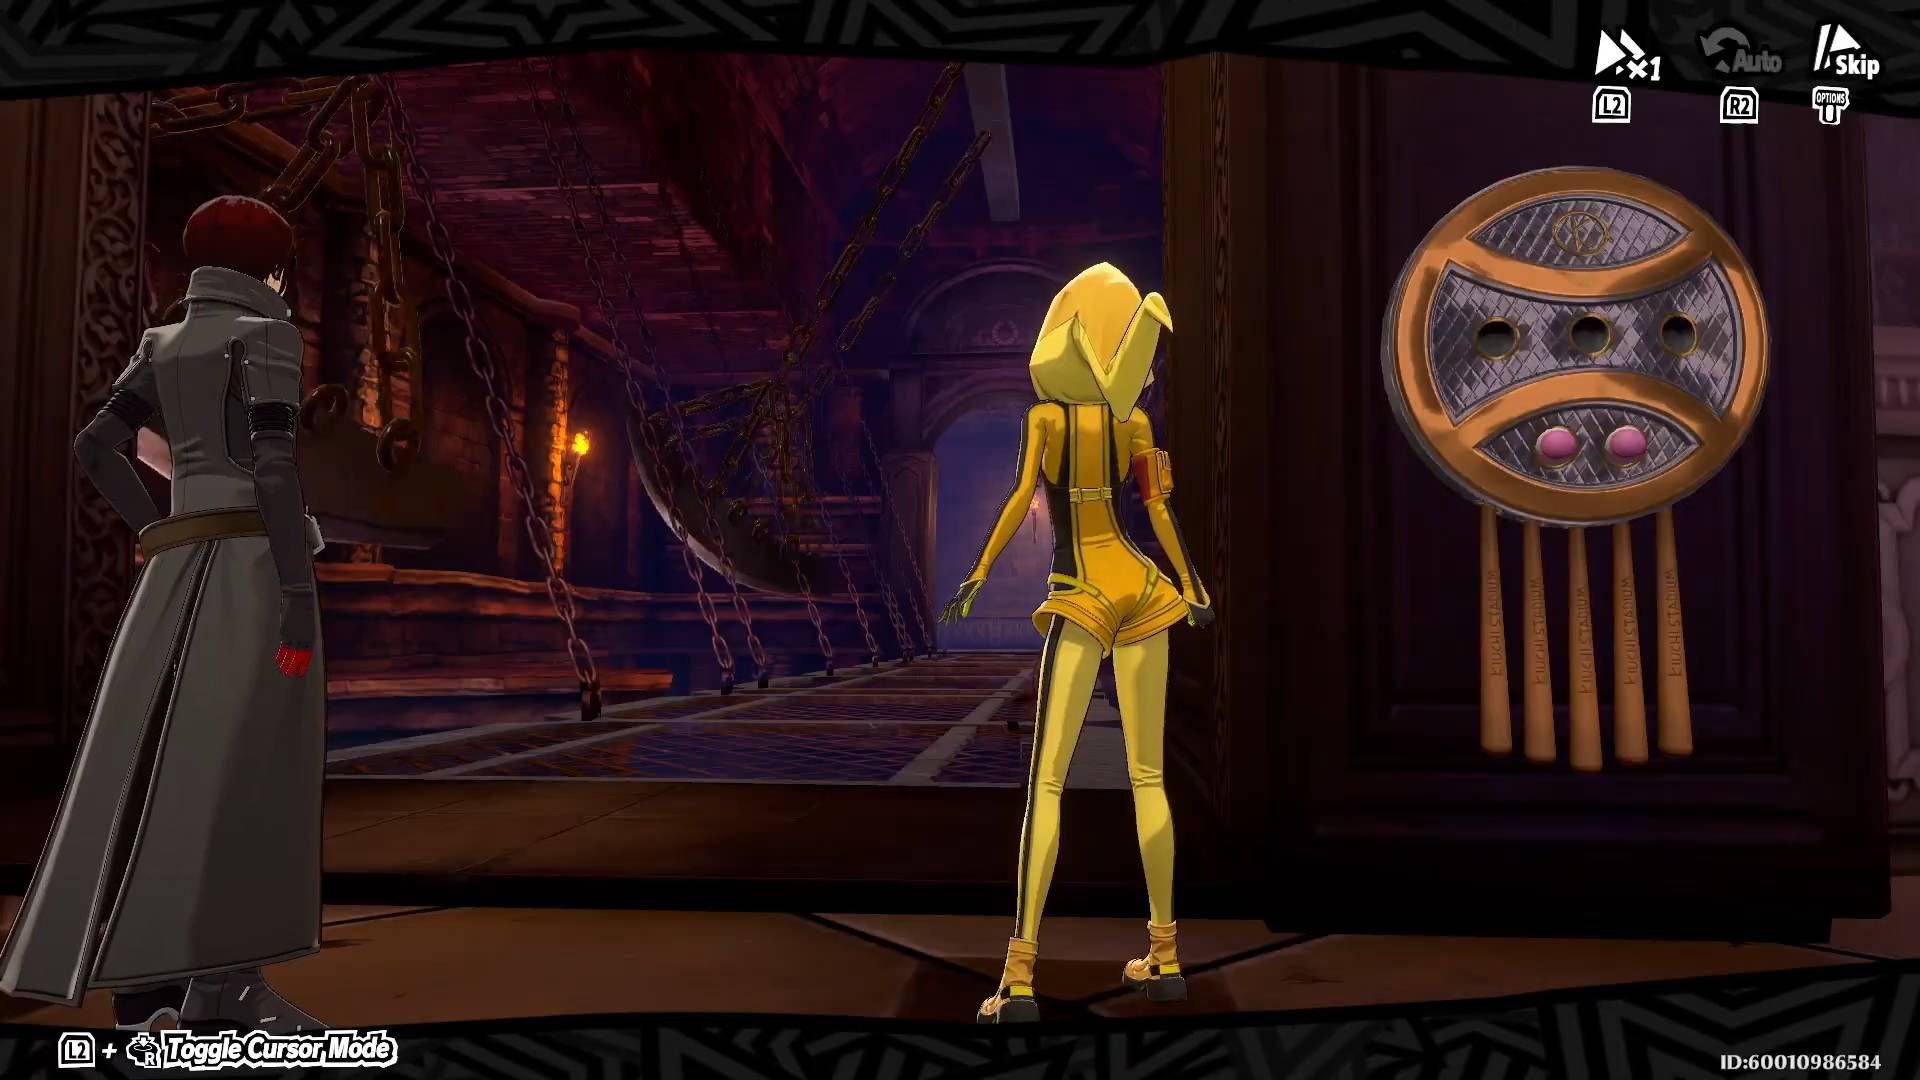
Returning to the upper levels of the Castle with Joker in tow, the Phantom Thieves will need to track down some baseballs to deactivate the trap blocking the path forward. We recommend making sure Wonder has Janosik equipped, along with Personas that can deal Fire, Ice, and/or Lightning damage, when starting this mission. You have Joker as a story-locked ally for this mission, who can deal a ton of AOE Curse Damage and take extra turns using his Will of Rebellion ability. Bringing along Cattle and Closer will round out the team nicely.
Heading downstairs from where you start, you can grab a Golden Volleyball on your left. Head through the door, and you’ll see a Safe Room straight ahead. After unlocking it, look to the right to find a Golden Volleyball and a strong shadow. This enemy group is vulnerable to gun, lightning, and curse, so it shouldn’t be a problem. Once they’re dealt with, head through the door near where you got the Volleyball and fight past the Shadows to reach a pull chain.
Use the Pull Chain to open a side path that should look familiar, then take out the strong shadow to access the room behind them. Open the chest inside, then follow the mission marker to get to a new room. Climb the bookshelf and use it to get up to a window, exiting onto the castle roof. As you climb down the castle’s battlements, you’ll find another Golden Volleyball sitting on a box. The last Volleyball for this mission can be found just before you drop into the area with the box sliding puzzle, by taking a quick detour to the left at the spot shown in the last image, above.
Dropping into a large area with some moveable boxes, you’ll need to solve a few basic puzzles to progress. The trick to each of these puzzles is to complete the pattern. For this first puzzle, push the box into the lower-right space to create an X shape. Take out the enemy patrolling just past it, then then grab the chest it was guarding. After that, you can push the nearby block into the spot shown in image 2, above, to complete the pattern and open the path forward.
Pull out the block on the left to open a path to another chest, then push the block into the spot shown in the first image, above. Push the block on the right into the position shown into the second image, and with both blocks in place you can challenge the final fight of this mission. Hit Eligor with lightning and Berith with ice to take them out quickly.
